

You know me, I'm always on the lookout for new ways to experiment with my grown out hairz. After trying my hand at pin curling and LOVING it, I wanted to try another well known, retro approach: rag curling. This is basically curling your hair by rolling it up around a long piece of cloth and tying the rag up around the hair when you're done rolling. The great thing about rag- and pin curling is that it's super easy to do, doesn't damage your hair and it makes you feel like a vintage moviestar! I started out by googling some tutorials and found the ones by Vixen Vintage, A Beautiful Mess and Rapunzel Resource (that last one is AMAZING for you long haired girls who were frustrated last time you couldn't try out my pin curl tutorial), and then I tried it out for myself.
I suck at explaining things but I'm going to try it anyway. Here goes nothing!
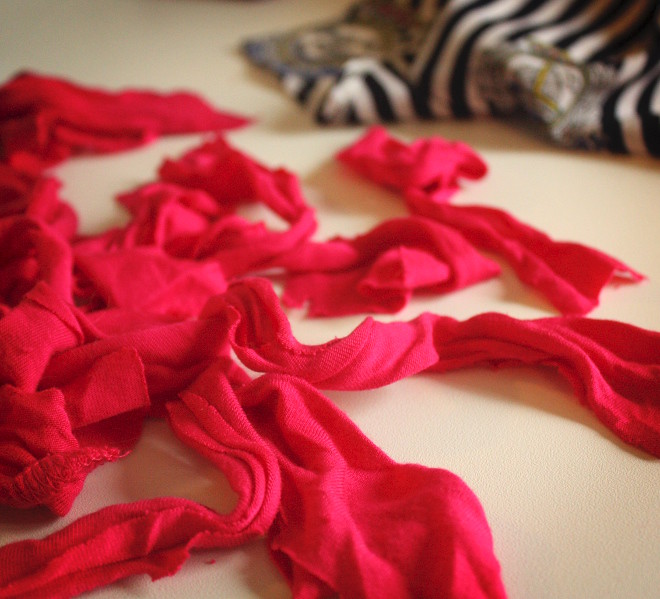
1. What you need: Rags to tie up your hair and a scarf to tie around your head to keep the rags in place as you sleep. I just cut up an old T-shirt for the rags, but any type of fabric would do really, as long as it's thin.
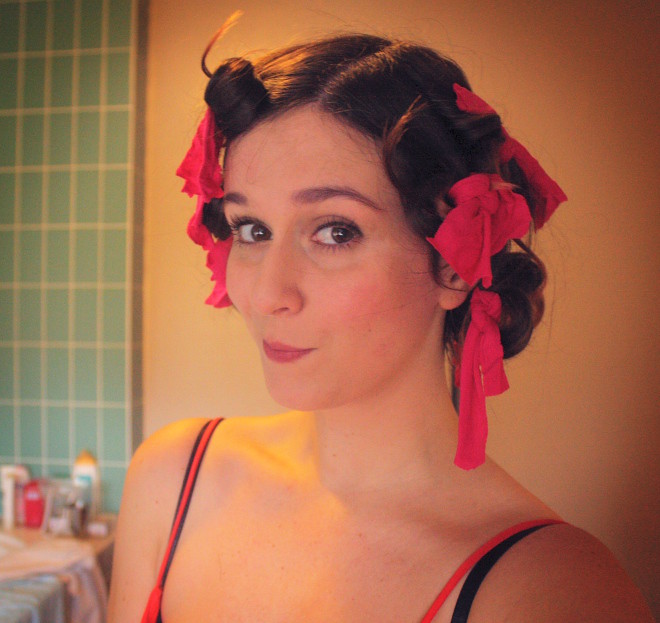
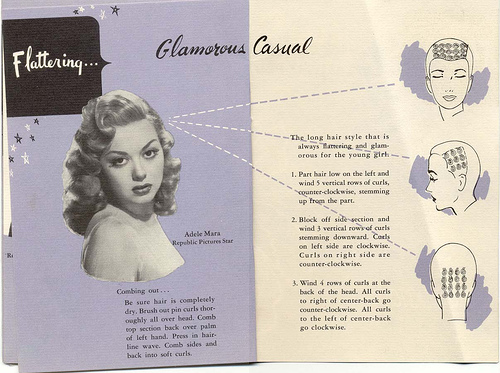
2. What to do: Divide your hair into sections. If you're lazy like me and just grab some hair to roll, you'll get your hair all tangled so don't do it like that! Section off everything but the part you want to roll up. Place the ends of your hair in the middle of the rag and start rolling it up, creating a donut of hair around the piece of cloth. If you're done rolling, tie up the rag and start on the next piece of hair. I based my rolling pattern on this pin curl diagram because I had a great experience with it when I did the pin curling. However, I didn't follow the instructions quite as neatly as the time I did the pin curling because I was lazy and I wanted to finish soon as I wanted to go to bed. Result: bigger sections of hair were used for each curl!

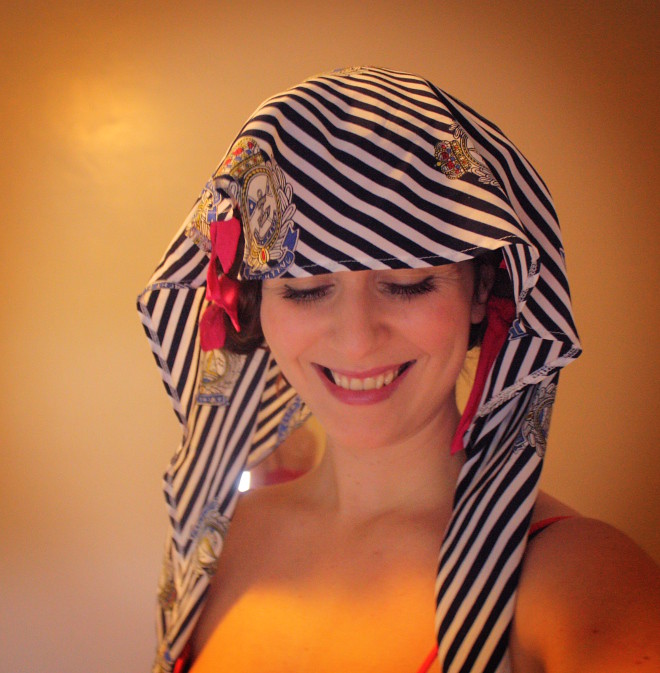
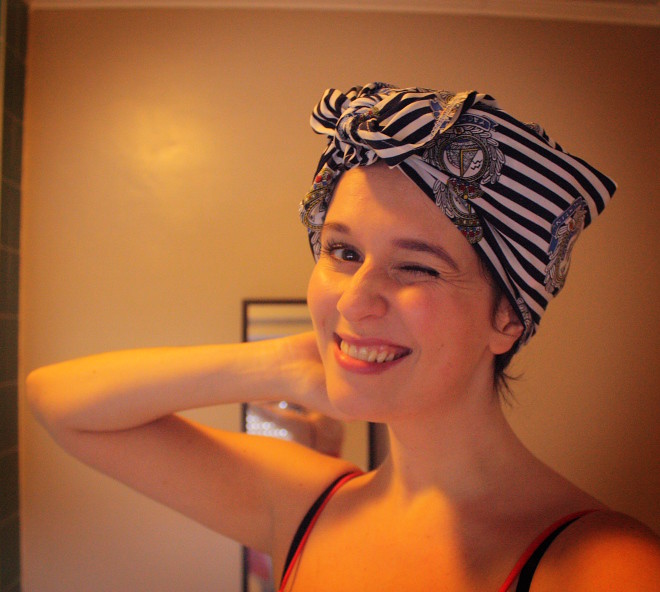
3. What to do next: Tie a scarf around your head and take a nap on it! My findings were that pin curls are more comfortable to sleep on, strangely, but that was probably because I used bigger chunks of hair this time which resulted in big lumps of hair making my sleeping position kind of uncomfy.
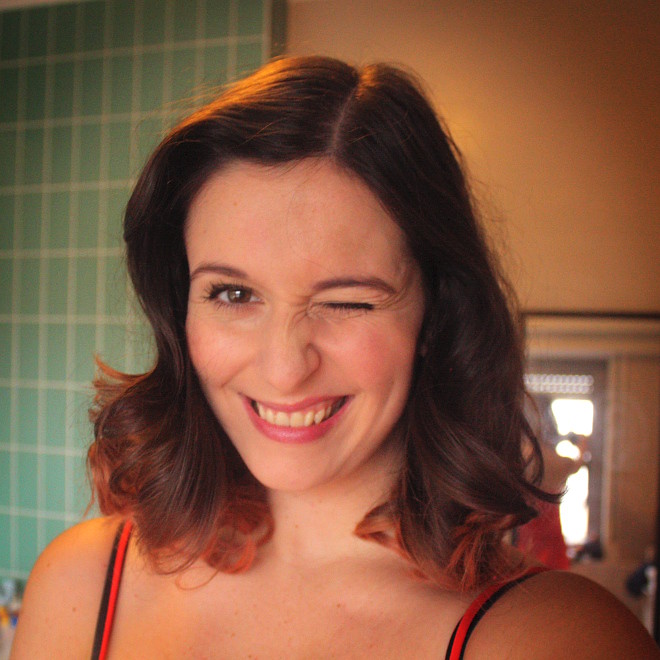
4. Results? As I said, I was lazy and didn't follow instructions properly. Don't get me wrong, I LOVE the way the curls turned out so the bigger sections were no problem at all. However, I didn't use any product and didn't wet my hair, hence the curls didn't really stay in as long as my pin curls. When I did those, I dampened my ends and used some mousse which resulted in my curls keeping for two days. Next time I rag curl, I'm doing it the right way with wet hair and mousse!
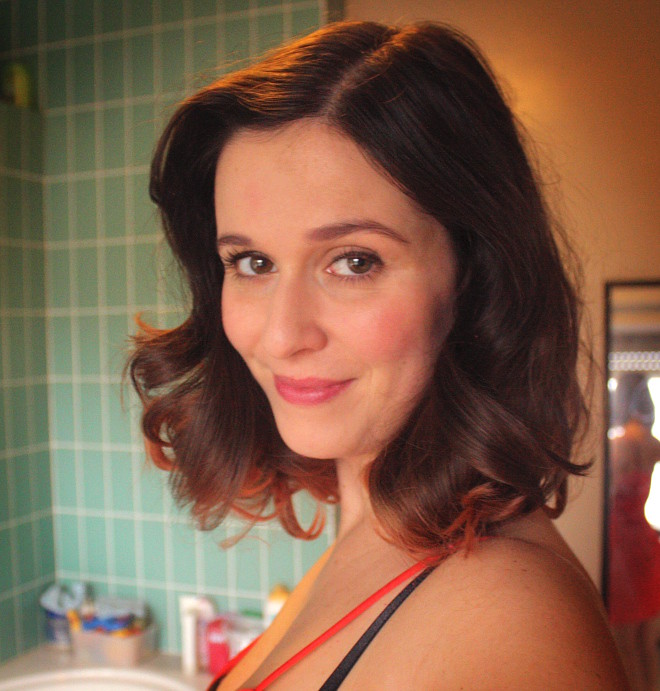
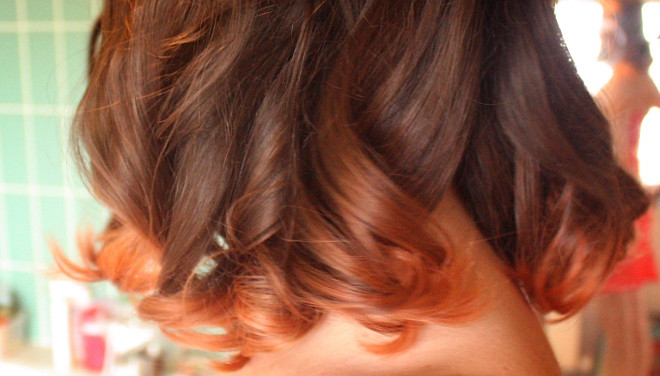
5. Conclusion: Definitely trying this again as I actually think these curls look better than the pin curls, but I won't forget to do it on wet hair and use some product so I can enjoy my retro hairdo a bit longer. A definite recommendation!


0 Comments